Getting started
Install
MCD Stitcher needs Python 3.9 or newer and runs on Windows, macOS and Linux.
pip install mcd_stitcher
Give it its own environment
A separate conda or virtual environment keeps its dependencies apart from your other tools:
conda create -n mcd python=3.12
conda activate mcd
pip install mcd_stitcher
On Linux the desktop app also needs Tk — see Troubleshooting if mcd_gui does not start.
Your first stitched image
-
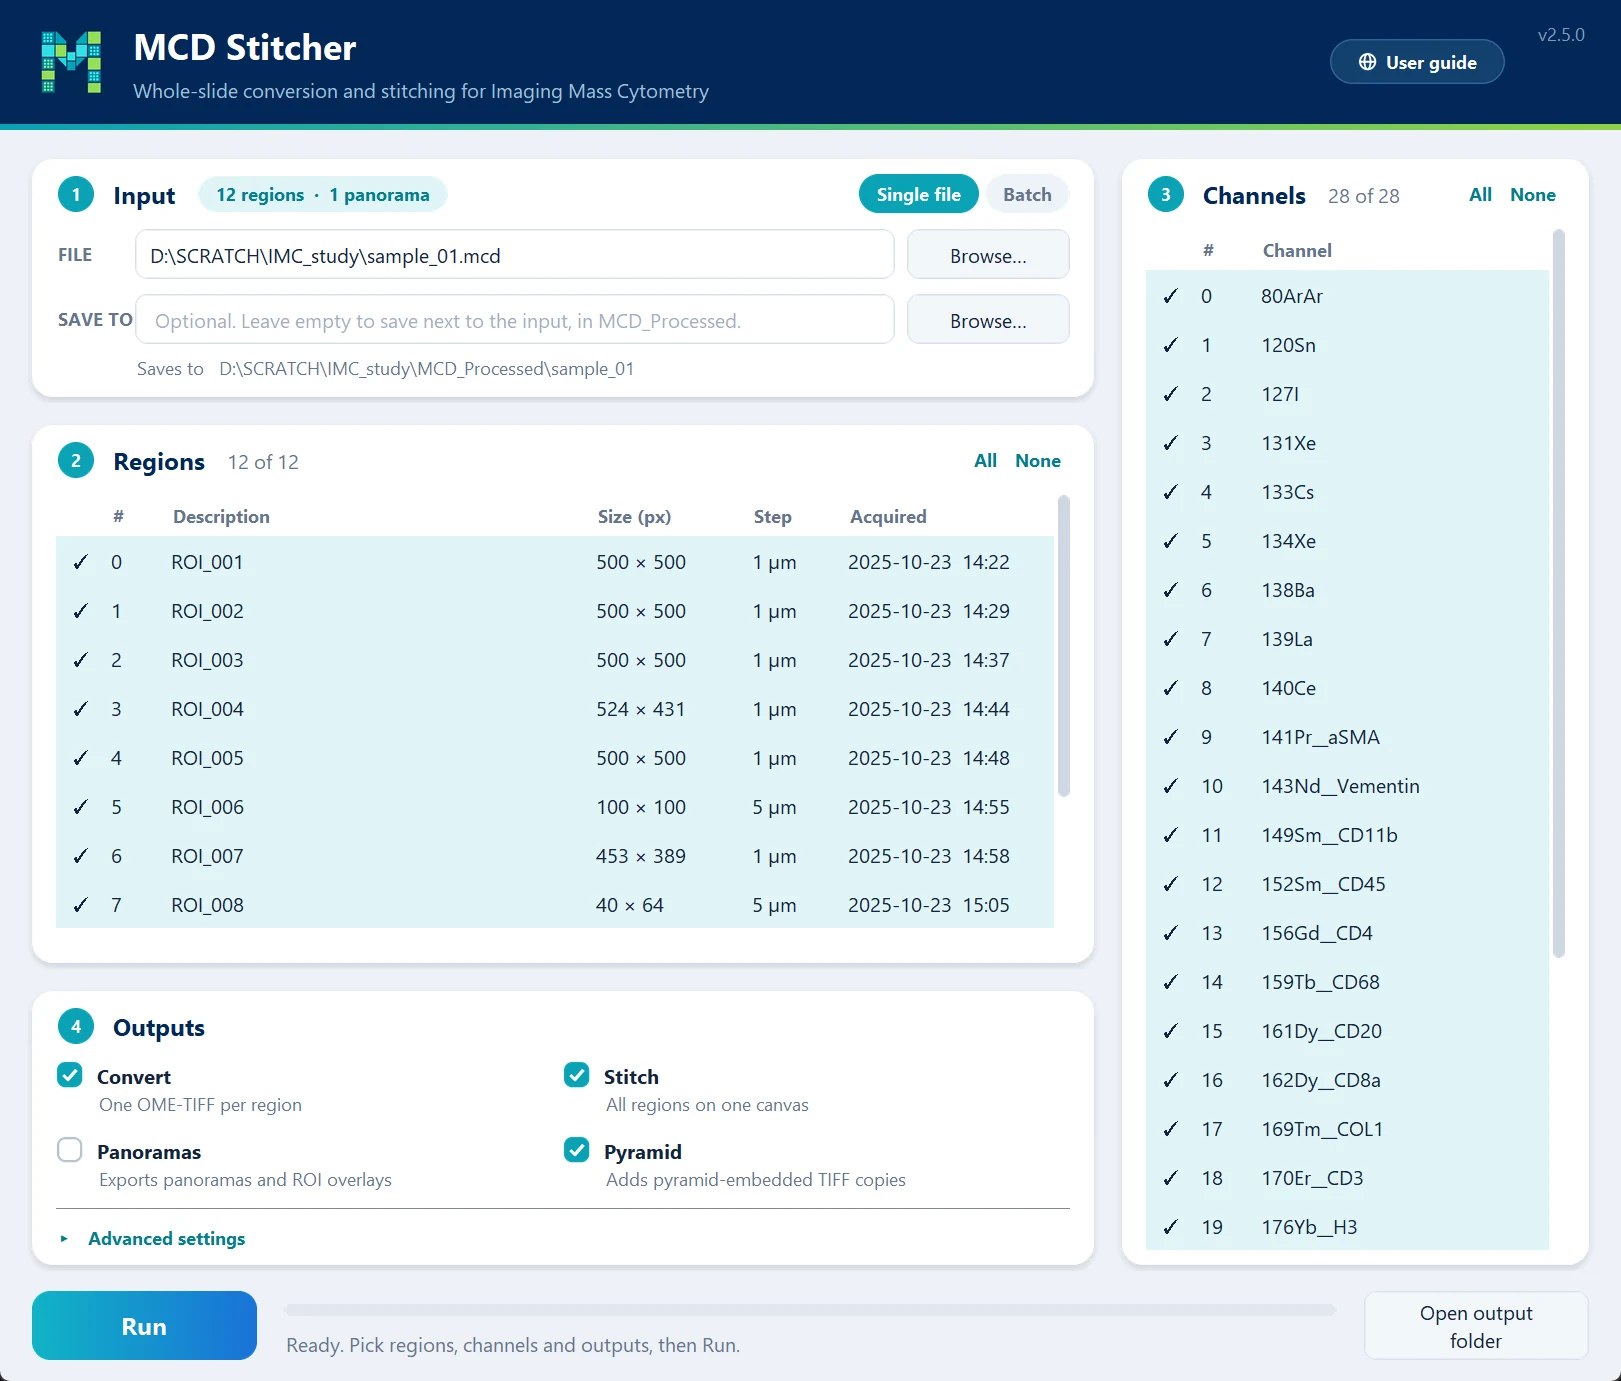
Start the app:
mcd_gui -
Click Browse… next to File and choose a
.mcdfile. Its regions and channels fill the tables. - Under Outputs, tick Stitch and Pyramid.
- Press Run. When it finishes, Open output folder shows the results.
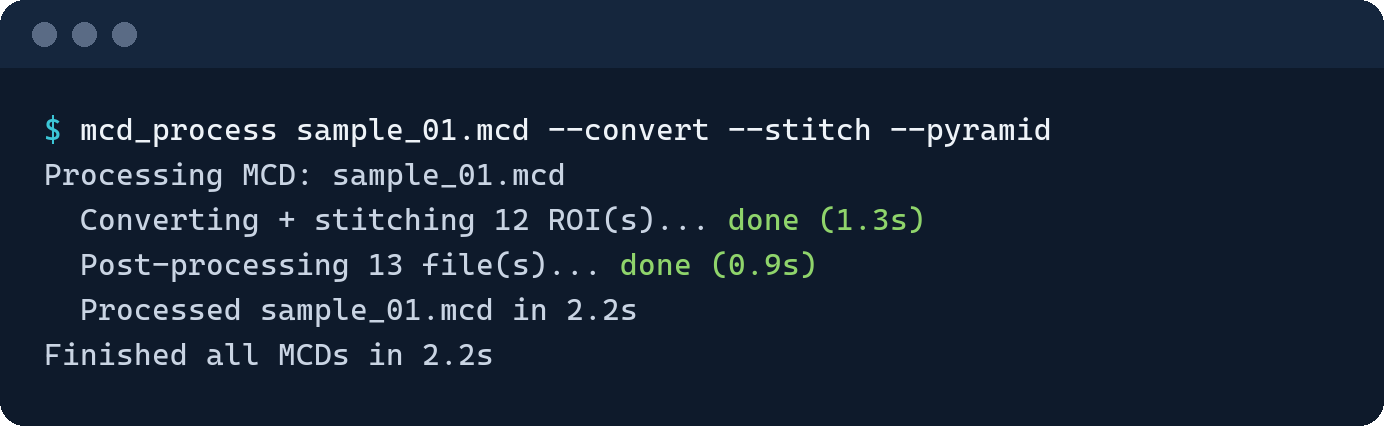
mcd_process "path/to/file.mcd" --stitch --pyramid
Each step reports as it finishes:
Where the files go
Unless you choose a folder, everything lands in MCD_Processed/<file name>/, next to the .mcd file. To write somewhere else, use Save to in the app, or give a second path on the command line; each file then gets its own folder inside it:
mcd_process "path/to/file.mcd" "path/to/results" --stitch --pyramid
Open the result
| File | What it is |
|---|---|
<file name>_stitched.ome.tiff |
The stitched canvas. |
<file name>_stitched_pyramid.ome.tiff |
The same canvas stored as tiles at several resolutions — the one to open for smooth panning and zooming. |
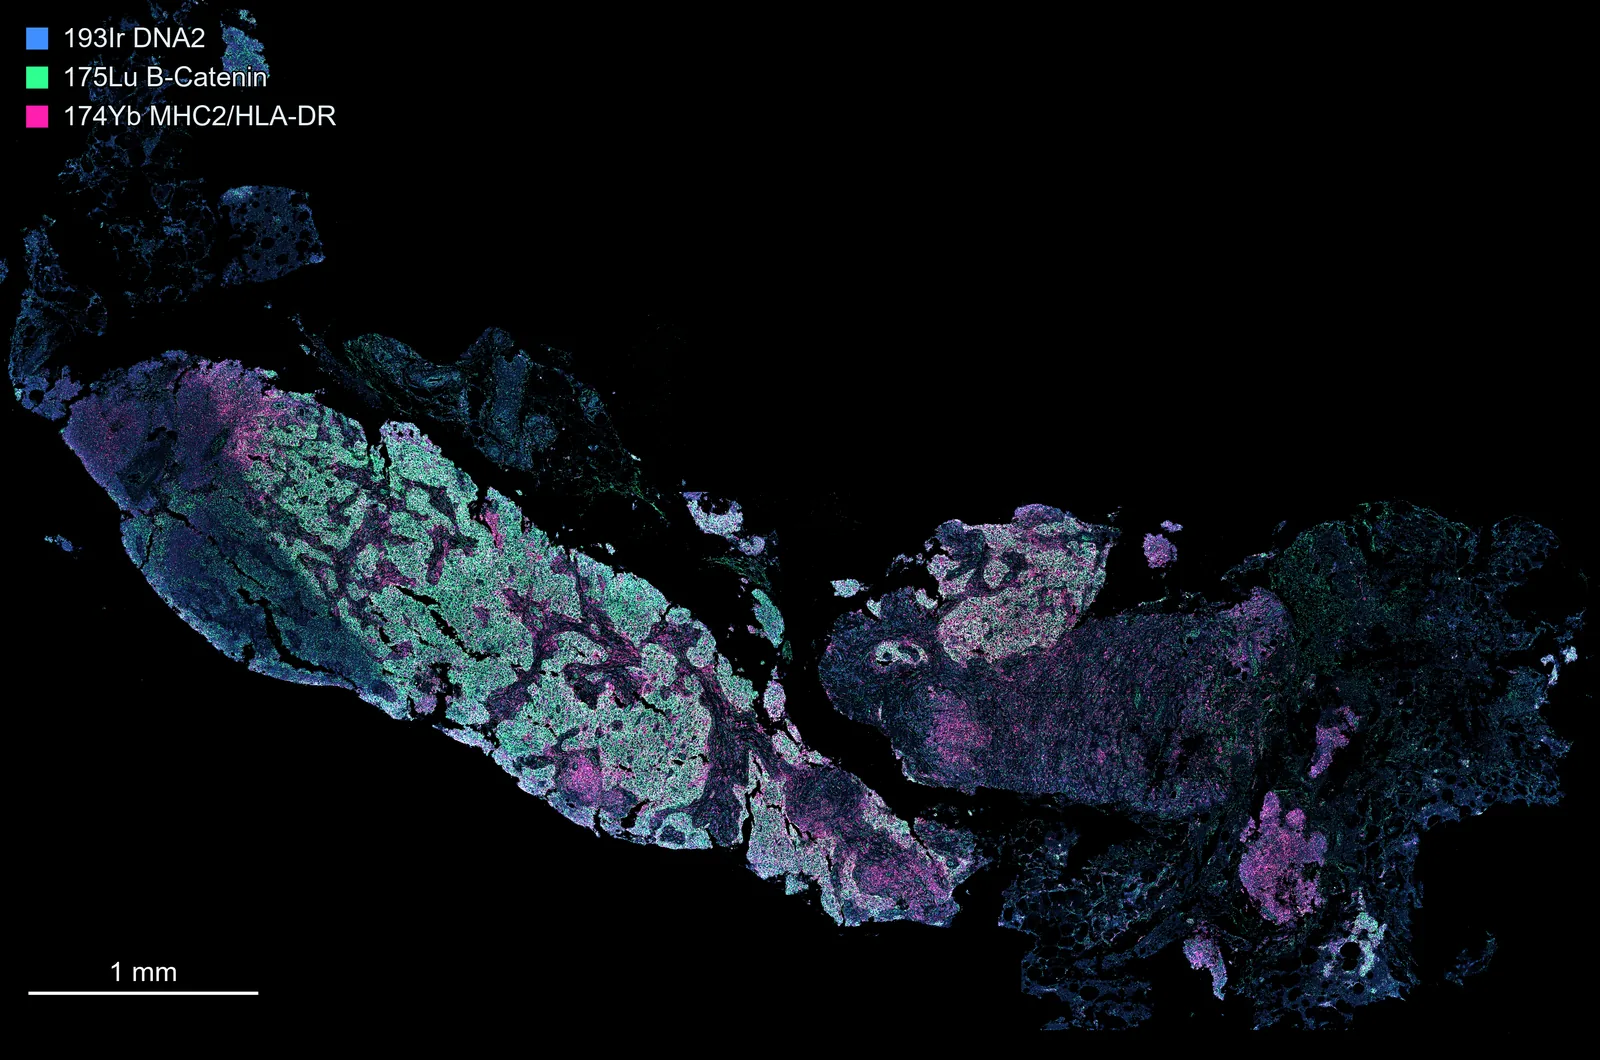
Open it in any viewer that reads OME-TIFF. Channel names are stored in the file's metadata.
Next: how it works, the desktop app in detail, or every command-line option.